In professional prosthetic makeup, realism is built through surface detail. Large sculptural forms define the character, but micro-details such as pores, veins, freckles, capillaries and subtle pigmentation shifts make a prosthetic look alive on camera. These elements create the natural imperfections found in real human skin, helping the appliance blend seamlessly under film lighting and high-definition cameras.
Modern productions use extremely high-resolution cameras that reveal every flat texture and artificial paint layer. A prosthetic may fit perfectly and move naturally, but without realistic skin detailing, it can still appear fake in close-up shots.
This is why professional SFX makeup artists spend significant time refining surface texture and translucent coloration before an appliance reaches the set. Let’s explore the special effects makeup techniques behind realistic prosthetic skin detailing.
Which Micro-Details Are Required for Prosthetics?
The type of micro-details required in prosthetics depends on the character design, age, skin condition and filming style. Makeup artists carefully choose surface details that help the appliance appear realistic under studio lighting and high-definition cameras.
Some of the most commonly used micro-details in prosthetic makeup include:
- Pores – Help create natural skin texture and realistic light reflection.
- Veins and Capillaries – Add depth beneath the surface, especially in thin-skin areas.
- Freckles – Break up flat color and create natural pigmentation variation.
- Skin Mottling – Adds uneven coloration found in real skin.
- Fine Wrinkles and Creases – Important for aging makeup and expressive facial areas.
- Pigmentation Shifts – Subtle red, yellow, blue, or purple undertones that mimic real skin tones.
- Hair Follicle Texture – Helps skin appear more realistic in close-up shots.
- Broken Capillaries – Common in older skin, weathered characters, or irritation effects.
- Scars and Skin Damage – Used for injury makeup, creature effects, or aged characters.
- Dry or Cracked Skin Texture – Often used in fantasy, horror, or environmental character designs.
What to Understand Before Creating Micro-Details in Prosthetics
Before adding pores, veins, freckles, or pigmentation effects, makeup artists need to understand how real skin behaves under lighting and camera conditions. Strong prosthetic detailing is not created by randomly adding texture. Every surface detail must follow anatomy, material behavior and realistic skin variation.
1) Study Real Skin Closely
Different areas of the face contain different textures and translucency levels. The nose usually has larger pores, while under-eye skin appears thinner and softer. Aging skin develops more visible capillaries, uneven pigmentation and deeper texture changes. Studying real skin references helps artists understand where certain details should appear and how subtle they need to be.
2) Choose the Right Prosthetic Material
Different materials react differently to texture and paint layering. Silicone is commonly used for highly realistic skin effects because it naturally mimics translucency. Foam latex works well for expressive character makeup and creature effects, while gelatin is often used for temporary appliances and smaller productions.
3) Understand Lighting and HD Camera Exposure
Modern film cameras capture extremely fine surface detail. Texture that appears subtle in person may look exaggerated under studio lighting and close-up shots. This is why SFX artists constantly test pore depth, paint transparency and skin sheen during the detailing process.
4) Focus on Variation Instead of Uniformity
Real skin is never perfectly even. Pores vary in size, pigmentation changes across the face and veins appear differently depending on skin thickness. Repeating the same texture pattern across an appliance can make the prosthetic look artificial on camera.
Note: These techniques require more than creativity alone because artists must also learn sculpting accuracy, paint layering, material behavior and camera-ready finishing methods used in the entertainment industry.
At Cinema Makeup School, students are introduced to hands-on special effects makeup training that covers prosthetic design, realistic skin detailing, mold-making, airbrushing and character makeup techniques used in film and television production.
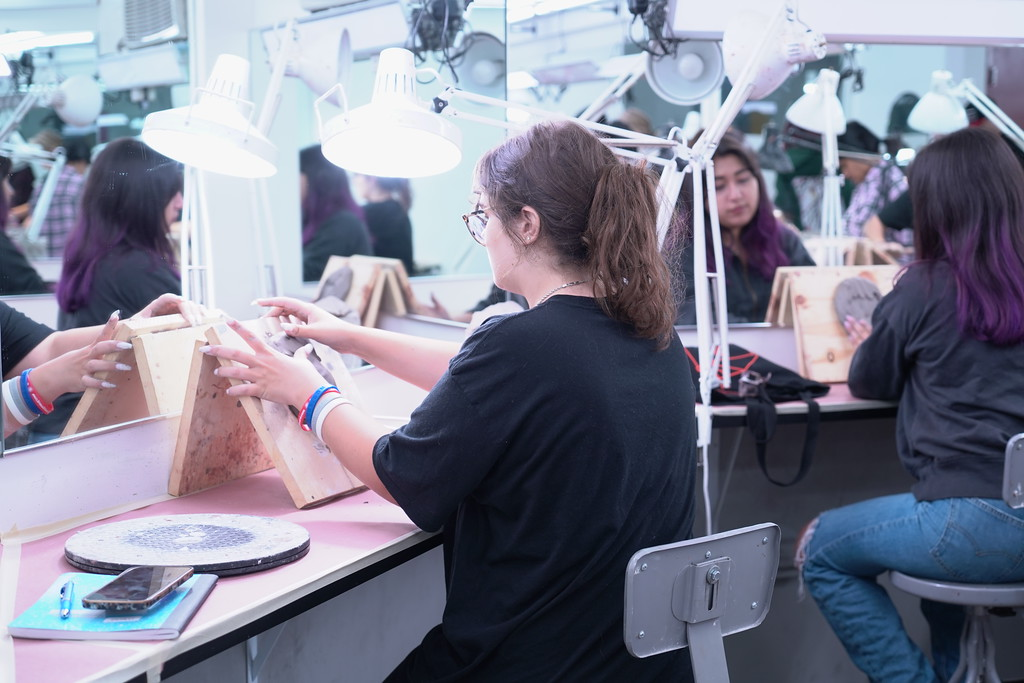
The training environment allows aspiring artists to understand how professional prosthetics are sculpted, textured, painted and refined to perform realistically under studio lighting and high-definition cameras.
How to Create Realistic Skin Pores in Prosthetics
Skin pores help prosthetics reflect light naturally and prevent the surface from appearing flat or rubbery on camera.
Step 1: Build the Base Sculpt
Start by completing the primary sculpt forms before adding texture. Pore detailing should only begin once the anatomy and surface shapes are finalized.
Step 2: Use Texture Stamps or Sponges
Press skin texture stamps, stipple sponges, or textured tools lightly into the clay surface. Rotate the texture tool frequently to avoid repeating patterns.
Step 3: Vary the Texture Density
Apply slightly larger pores around areas like the nose and cheeks while keeping the forehead and under-eye textures softer and finer.
Step 4: Refine Details by Hand
Use needles or fine sculpting tools to break up overly uniform areas and create natural skin variation.
Step 5: Check Under Strong Lighting
Examine the texture in bright light, as exaggerated pores may appear too harsh on HD cameras.

How to Add Veins and Capillaries in Prosthetic
Veins create subtle depth beneath the prosthetic surface and help simulate realistic blood flow.
Step 1: Study Anatomical PlacementObserve where veins naturally appear, especially around the temples, eyelids, neck and under-eye areas. |
Step 2: Use Thin Transparent PaintMix translucent blue-green tones rather than heavy, opaque paint. Thin layers create a more realistic effect. |
Step 3: Apply Soft Vein PatternsUse an airbrush or fine brush to create soft, irregular vein lines. Avoid sharp outlines or dark blue streaks. |
Step 4: Layer Skin Tones Over the VeinsApply thin flesh-tone washes over the veins so they appear embedded beneath the skin instead of painted on top. |
Step 5: Soften and BlendUse sponges or alcohol palettes to diffuse harsh edges and create natural transitions. |
How to Create Freckles and Pigmentation in Prosthetic
Freckles and pigmentation variation help break up flat paint coverage and create more believable skin tones.
Step 1: Start With a Clean Base Tone
Apply the main skin tone evenly before adding freckles or pigmentation layers.
Step 2: Add Light Freckles First
Use a splatter brush, stipple sponge, or fine brush to apply soft freckles gradually across the skin.
Step 3: Build Color Variation
Add darker freckles (small natural pigmentation spots on the skin) selectively instead of making every freckle the same color or size.
Step 4: Focus on Natural Placement
Concentrate freckles around areas with natural sun exposure, such as the nose bridge and upper cheeks.
Step 5: Add Mottling and Discoloration
Use transparent washes to introduce subtle redness, uneven pigmentation and tonal shifts across the prosthetic.
How to Create Fine Wrinkles and Skin Creases
Wrinkles and creases help prosthetics move more naturally and improve aging realism.
Step 1: Study Expression Lines
Observe how wrinkles form around the forehead, eyes, mouth and neck during facial movement.
Step 2: Sculpt Wrinkles Into the Clay
Use fine sculpting tools to carve soft, irregular wrinkle patterns into the surface.
Step 3: Avoid Perfect Lines
Natural wrinkles are uneven and vary in depth, direction and spacing.
Step 4: Add Paint Depth
Enhance wrinkle depth using soft shadowing and highlight techniques during painting.
Step 5: Test Movement
Check how the wrinkles behave when the prosthetic moves on the actor’s face.
How to Create Skin Mottling and Color Variation
Skin mottling adds realistic tonal variation and prevents the prosthetic from looking overly clean or flat.
| Step 1: Use Transparent Paint Layers | Thin down alcohol paints or airbrush colors to keep the surface translucent. |
| Step 2: Add Warm and Cool Tones | Introduce subtle reds, yellows, blues, or purples, depending on the skin region. |
| Step 3: Apply Colors Unevenly | Natural skin never contains perfectly even coloration, so vary the intensity across the surface. |
| Step 4: Blend the Layers Gradually | Use sponges, airbrush glazing, or stippling techniques to soften transitions. |
| Step 5: Compare With Real Skin References | Check whether the coloration feels natural under lighting and camera conditions. |
How to Control Skin Finish and Surface Sheen
Surface sheen affects how realistic the prosthetic appears under film lighting.
Step 1: Observe Natural Skin Reflection
Study how oily and dry areas reflect light differently across the face.
Step 2: Reduce Excess Shine
Use translucent powders or anti-shine products to soften overly glossy surfaces.
Step 3: Add Controlled Reflectivity
Apply silicone gloss or skin-safe oils selectively to areas like the nose or forehead if needed.
Step 4: Match the Actor’s Real Skin
Ensure the prosthetic and surrounding skin reflect light similarly.
Step 5: Test Under Production Lighting
Always evaluate the final sheen under studio or camera lighting before filming.
Related Articles –
How SFX Artists Build & Apply Ear Prosthetics?
Important Factors When Choosing an SFX Makeup Artist Course
How Makeup Tests Help Finalize Character Looks?
How to Blend Micro-Details Into the Surrounding Skin
Even highly detailed prosthetics can fail if the surrounding skin does not match properly.
- Extend pores, freckles and subtle skin coloration slightly onto the actor’s natural skin to create a smoother transition between the prosthetic and real skin.
- Blend paint layers gradually and carefully so the prosthetic matches the actor’s natural skin tone without visible color separation.
- Keep the surface finish consistent by ensuring both the prosthetic and surrounding skin share similar matte or glossy qualities under lighting.
- Use blending products, stippling techniques and careful edge work to hide appliance borders and create a seamless appearance.
- Check the final makeup from different camera angles and lighting setups to ensure the prosthetic blends naturally in every shot.
Mastering these techniques requires careful observation, strong paint control and an understanding of how real skin behaves across different characters and filming conditions.
If you are interested in learning professional SFX makeup techniques, you can apply for training programs at Cinema Makeup School or book a campus tour to explore the studio environment, classrooms and hands-on learning setup.