Ear prosthetics are a specialized component of special effects makeup used to alter or extend the natural structure of the ear for character design. In film, TV, theater and creature effects work, prosthetic ears help artists create entirely new anatomical forms, whether subtle character modifications or dramatic fantasy transformations.
For aspiring SFX makeup artists, learning how ear prosthetics are built and applied is an important technical skill. It introduces the workflow used in many professional prosthetic projects, from life casting and sculpting to material casting and final application.
Let’s go through the step-by-step process SFX artists follow to create and apply ear prosthetics used in professional productions.
Let’s Understand Ear Anatomy Before Designing a Prosthetic
Before touching a mold or sculpting tool, an aspiring special effects makeup artist needs a working knowledge of ear anatomy.

- Helix – the outer curved rim of the ear that forms the top and back edge
- Antihelix – the inner curved ridge running parallel to the helix
- Tragus – the small cartilage projection that partially covers the ear canal opening
- Antitragus – the raised bump opposite the tragus
- Concha – the deep bowl-shaped depression leading into the ear canal
- Lobule – the fleshy lower lobe, which varies significantly between individuals
- Scapha – the groove between the helix and antihelix
Learn Why SFX Makeup Artists Should Study Human Anatomy for Sculpting Realistic Prosthetics.
How to Build Ear Prosthetics with SFX Makeup?

Stage 1: Life Casting the Ear
A prosthetic ear is built to fit a specific performer, which means the process begins with an accurate impression of their ear. This is called a life cast.
- Start by inserting a soft foam earplug into the subject’s ear canal; this is a non-negotiable safety step. Never allow casting material to enter the ear canal.
- Apply a thin layer of petroleum jelly or barrier cream over the entire outer ear and surrounding skin.
- Mix alginate (fast-set, body-grade) to a smooth lump-free consistency and apply it immediately using a small brush or gloved finger, working the material into every contour, including the concha, scapha and the area behind the tragus.
- Apply a thicker secondary coat for structural integrity. Once set, carefully flex the alginate off the skin.
- Pour the negative mold immediately with Ultracal 30 or dental stone to create a positive cast. Alginate begins shrinking within 30–45 minutes, so timing matters.
- Once cured, remove the alginate to reveal your stone positive, which becomes your sculpt base.
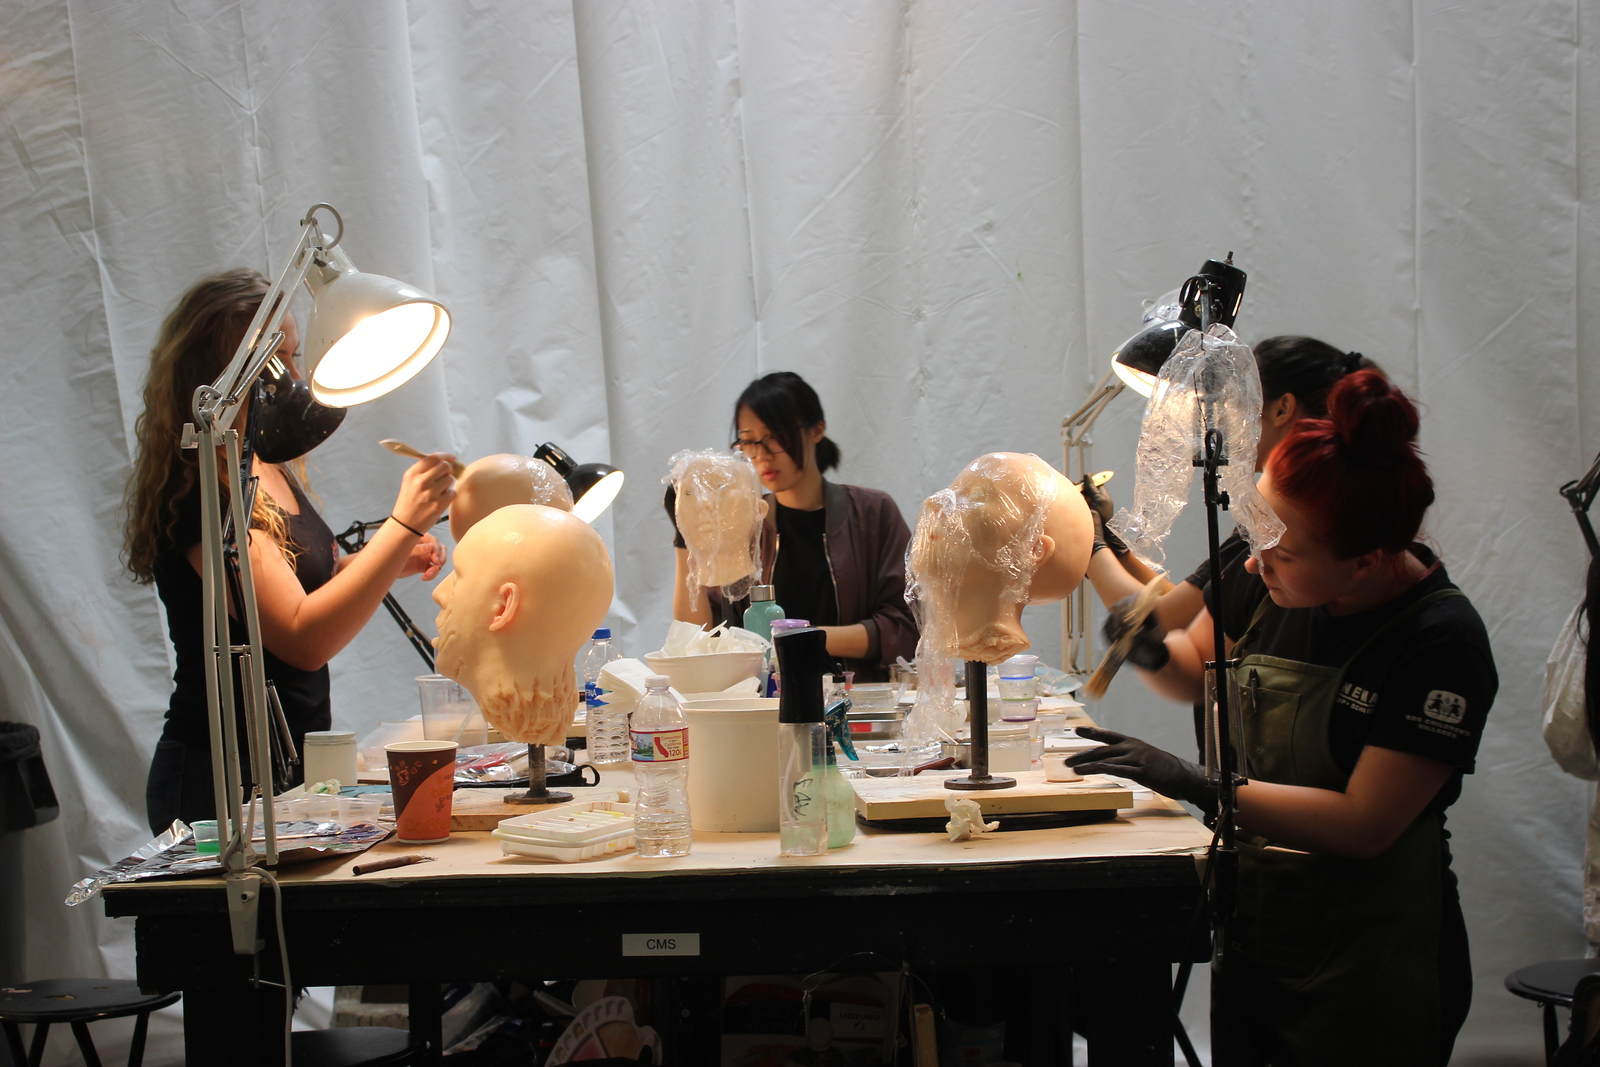
Stage 2: Sculpting the Prosthetic Ear
Sculpting is where the character concept takes physical shape. Whether you are creating a pointed fantasy ear or a realistic replacement prosthetic, the sculpt must begin from an accurate anatomical base before any stylized modifications are added.
Tip: Always work in sulfur-free oil-based clay – Chavant NSP Medium or Hard is the industry standard. Sulfur-containing clays inhibit the cure of platinum silicone, which is the most widely used prosthetic material today.
Using the wrong clay will ruin an entire silicone pull.
Apply clay in stages: block in major masses first (helix, antihelix, concha depth), then refine surface planes and add skin texture using a stipple sponge lightly pressed into the clay surface, texture tools, or direct skin texture sheets.
Stage 3: Mold Making
Once the sculpt is approved, a two-part mold is built around it to allow the prosthetic material to be cast. Establish a clean parting line around the sculpt using a thin clay wall. The parting line must be placed where the mold halves can separate without trapping material in undercuts. Apply soap or release agent to all exposed stone surfaces before pouring.
Mix Ultracal 30 to a smooth slurry and brush a thin detail coat over the sculpture first, pressing material into all recesses. Build up to a structural thickness of at least 2.5–3 cm. Once set, apply the release agent to the first half and pour the second. After both halves cure, use wooden wedges (never metal) to carefully open the mold.
Remove all clay residue using naphtha or isopropyl alcohol (IPA) with a soft brush. Allow the mold to dry completely, as any residual moisture can prevent silicone from curing properly.
Get to know: Why Your Sculpt Looks Great in Clay but Fails in Mold?
Stage 4: Casting the Ear Prosthetic
Once the mold is cleaned and completely dry, the final ear prosthetic can be produced.
- Prepare the Mold: Ensure both mold halves are clean and fully dry. If required by the material system, apply a suitable release agent so the prosthetic can be removed without damaging delicate edges.
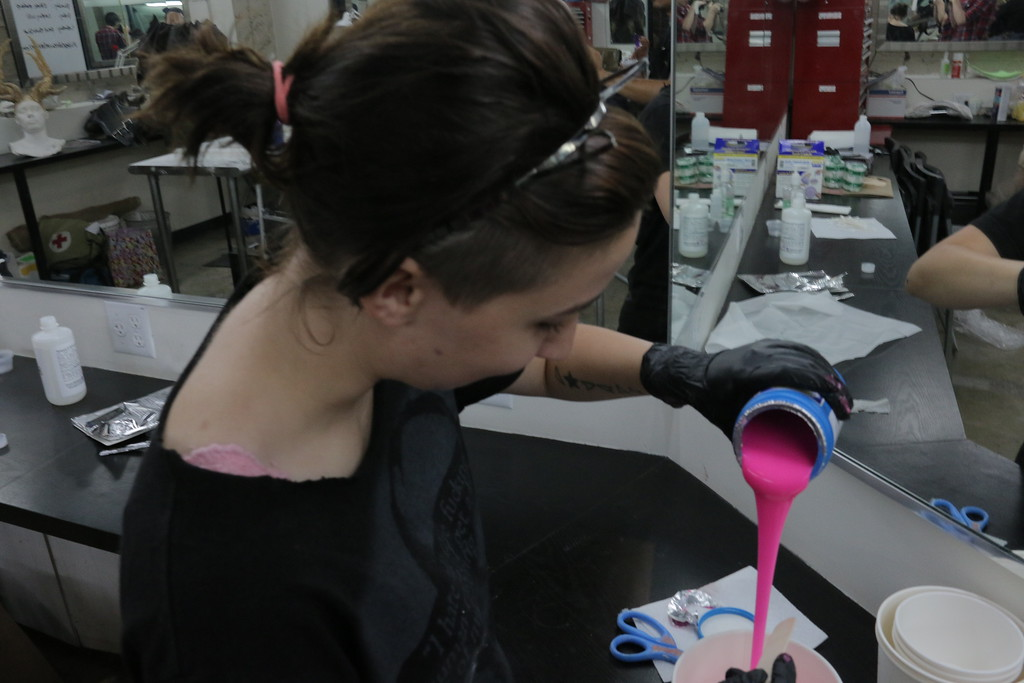
- Prepare the Prosthetic Material: Mix the prosthetic material, foam latex and platinum-cure silicone, both widely used in professional special effects work.
Read the article to know the difference – Foam Latex vs Silicone: Choosing the Right Material for SFX Prosthetics
- Fill the Mold: Introduce the prepared material into the mold by pouring, brushing, or injecting, depending on the material system.
- Close and Secure the Mold: Align the mold halves carefully and secure them so the prosthetic forms with the correct shape and edge thickness.
- Allow the Material to Cure: Depending on the material used, the mold is either baked or left to cure for the required amount of time to allow the prosthetic to fully set.
- Remove and Trim the Prosthetic: After curing, carefully open the mold and remove the prosthetic ear. Trim excess flashing and refine the edges so they taper thinly, allowing the appliance to blend naturally into the performer’s skin during application.
6. Edge Work and Finishing the Raw Piece
After demolding, the prosthetic ear requires finishing before it is ready for painting or application. One of the first tasks is removing flash, the thin layer of excess material that forms along the mold’s parting line. This material must be carefully trimmed using sharp, curved scissors or a scalpel.
The goal is to remove the excess without disturbing the delicate feathered edges that were built into the sculpt. These thin edges are critical because they allow the prosthetic to blend seamlessly into the performer’s skin. Once the excess material has been removed, the edges of the prosthetic should be examined closely.
7. Painting and Color Matching
Coloring is where many aspiring artists underestimate the work required. Human ear skin is not a single color; it contains multiple layers of tone, variations in vascularity, subtle translucency and localized areas of warmth or coolness that change depending on lighting conditions.
For Foam Latex Prosthetics:
Rubber mask grease paints (RMG) and alcohol-activated paints (such as Skin Illustrator or Reel Color) are the standard coloring media. Begin with a base coat that approximates the general skin tone of the actor, applied with an airbrush for smooth, even coverage.
Build color in translucent layers rather than one opaque coat. Add warmth to the concha and helix, cooler tones to recessed areas and subtle veining to the lobule if appropriate for the character.
For Silicone Prosthetics:
Silicone prosthetics are typically painted using silicone-based paints mixed from the same platinum silicone base as the prosthetic itself, thinned with silicone thinner or naphtha. These paints bond directly to the surface of the prosthetic and flex with it.
Intrinsic coloring added during casting handles the base tone; extrinsic painting handles surface detail, spot coloration and final matching to the actor’s skin under the specific lighting conditions of the production.
How to Apply Ear Prosthetics?
1. Prepare the Skin
Oils, sweat and skincare products can interfere with adhesives, so the area around the ear must be thoroughly cleaned.
Use a gentle cleanser or isopropyl alcohol to remove oils from the skin. If necessary, lightly shave any fine hair that may sit beneath the appliance. Many SFX artists also apply a thin layer of skin barrier spray to protect the performer’s skin from adhesives and solvents during long shooting days.
2. Test the Fit Before Applying Adhesive
Before applying any adhesive, perform a dry fit of the prosthetic. Place the ear prosthetic against the performer’s ear to confirm that it aligns correctly with the natural contours.
Check that:
- the edges lie flat against the skin
- the appliance does not create pressure points
- the alignment matches the intended character design
If the piece shifts or gaps appear, minor trimming may be required before proceeding.
3. Apply Prosthetic Adhesive
Once the fit has been confirmed, adhesive can be applied. The type of adhesive used depends on the prosthetic material and production requirements.
Professional SFX artists commonly use:
1) Pros-Aide or acrylic prosthetic adhesive
2) Medical-grade silicone adhesive
3) Spirit gum for lighter appliances
Apply a thin layer of adhesive to both the prosthetic edge and the performer’s skin. Allow the adhesive to become slightly tacky before positioning the appliance. This improves bond strength and prevents the piece from sliding during placement.
Learn Which Adhesives Are Used in Professional SFX Makeup?
4. Position and Attach the Prosthetic
Carefully position the prosthetic ear, starting from one anchor point, usually the upper helix or rear edge. Gradually press the appliance into place while working around the ear. Work slowly and apply gentle pressure to ensure the prosthetic makes full contact with the skin. Avoid stretching the piece excessively, as this can distort the sculpted shape.
Once positioned correctly, hold the edges in place for several seconds to allow the adhesive to fully bond.
5. Blend the Edges into the Skin
Even with thin sculpted edges, additional blending is usually required to make the transition invisible. Artists may use a small amount of Pros-Aide, acetone, or specialized edge-blending solvents depending on the material system. These products soften the transition between the prosthetic edge and the natural skin.
Using a stipple sponge or brush, lightly feather the edges until the seam disappears.
6. Final Touch-Ups and Sealing
After the appliance is fully attached and blended, adjust the color where necessary and refine the surface so the transition between the prosthetic and natural skin appears seamless.
To finish the application, apply a makeup sealer or setting spray to lock the paint in place and protect the prosthetic during long shooting hours.
More Helpful Blogs –
How Concept & Color Theory Boost Your Creature Design Skills
Character Makeup Skills You Need to Start a Career in SFX
How to Make Vampire Fangs With SFX Makeup?
Learn Professional Prosthetic Techniques at Cinema Makeup School
Creating prosthetic appliances requires a combination of artistic design, anatomical knowledge and technical mold-making skills. While tutorials and articles can introduce the process, mastering these techniques typically requires hands-on training with professional materials and guidance from experienced instructors.
Cinema Makeup School offers in-depth training in prosthetic design, life casting, sculpting, mold making and appliance application used in professional film and television productions.
Students work with industry-standard materials such as silicone, foam latex and prosthetic adhesives while learning the workflows used by professional SFX artists. Our special effects makeup programs are designed to help aspiring artists build practical skills, understand production-ready techniques and develop a portfolio suitable for the entertainment industry.
Take a tour of the Cinema Makeup School campus and explore the program that fits your goals.