Creating a convincing bald look is a foundational skill in special effects makeup. Whether you’re transforming an actor for a dramatic role or crafting a Halloween creature, mastering bald cap application, especially using latex & vinyl, can take your character makeup to the next level.
This comprehensive guide explores how to apply a bald cap, the differences between latex and vinyl bald caps and tips to achieve realistic results.
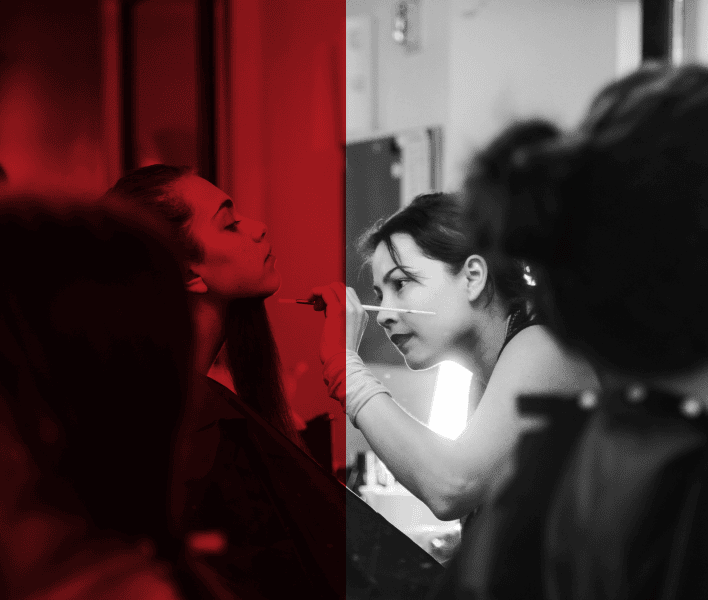
Why Use Bald Caps in Character Makeup?
Bald caps are essential tools for makeup artists, allowing for quick transformation without shaving or major alterations. They’re commonly used in film, theater, cosplay and Halloween events to portray bald characters or to lay the foundation for prosthetic enhancements.
From horror villains to sci-fi creatures, bald cap makeup helps you create seamless, believable character looks. And with various materials available, such as latex and vinyl, you can tailor your application to fit performance needs, comfort and realism.
Vinyl vs Latex Bald Caps: What’s the Difference?
Before you learn how to apply a bald cap, it’s important to choose the right material:
- Latex Bald Cap: Made of thin, flexible latex, these caps are excellent for blending into the skin. They’re often used for more detailed or custom applications where edge work is crucial.
- Vinyl Bald Cap: Slightly thicker and smoother, vinyl caps offer durability and cleaner edges. They’re great for long wear and are easier to manipulate using acetone for a skin-like blend.
Check Out: How Cinema Makeup School’s SFX Makeup Course Brings Seasonal Characters to Life?
How to Properly Apply Vinyl & Latex Bald Caps for Character Makeup?
Applying a latex or vinyl bald cap involves precise steps for a natural, skin-like finish. This tutorial walks through prepping the scalp, trimming the cap, adhering and blending edges and painting for realistic character makeup – ideal for film, theatre, cosplay, or Halloween.
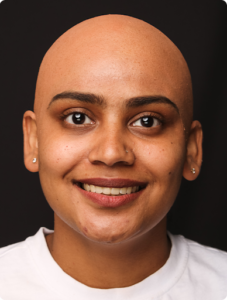
1. Prep the Hair and Skin
Start with clean, dry skin. Hair should be tightly pinned or braided flat to the scalp. Use a light coat of hair gel or pomade to keep flyaways down. Wipe down the face and hairline with alcohol or toner to remove oils and help the adhesive stick securely.
Pro Tip: Use a bald cap liner or wig cap under the bald cap for extra hold and hair protection.
2. Position and Trim the Cap
Place the bald cap over the head, aligning it with the natural hairline. Trim around the ears, nape and forehead with sharp scissors. Leave a bit of extra material along the edge to allow for blending.
Make sure the cap lies flat with no wrinkles. For vinyl caps, slightly heat the material with a blow dryer to make it more flexible if needed.
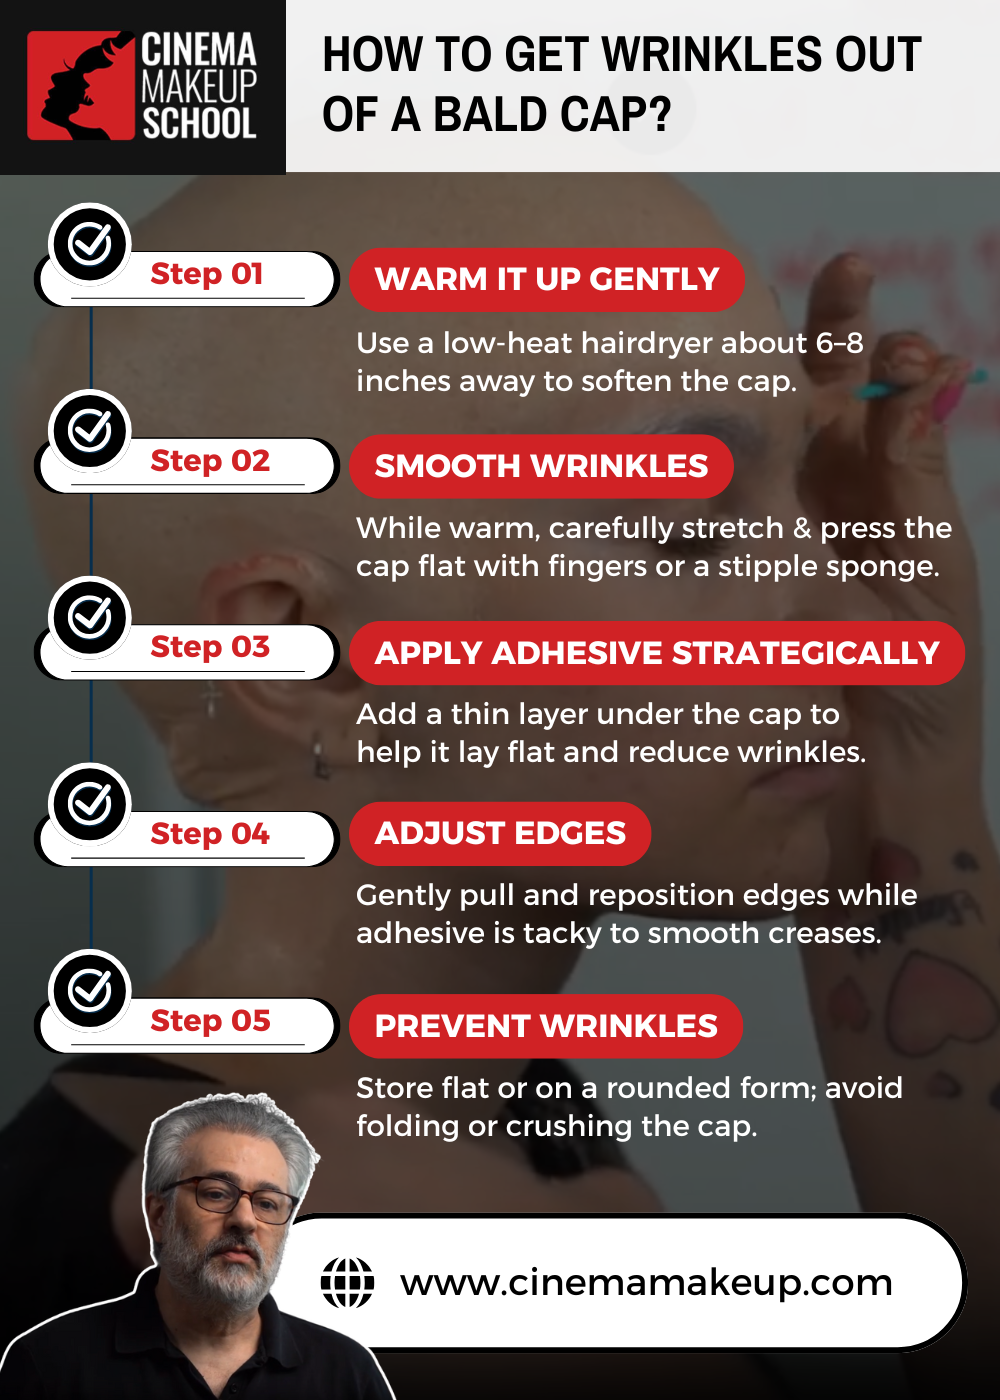
Beauty Buzz: How to get wrinkles out of a bald cap?
To remove wrinkles from a bald cap, gently warm it with a low-heat hair dryer, then stretch and smooth it using your fingers or a stipple sponge. Applying a thin layer of adhesive before positioning helps the cap lay flat. If folds remain, carefully adjust edges while the adhesive is tacky. Handle with care to avoid damage.
3. Adhere the Cap to the Skin
Apply a prosthetic adhesive (such as Pros-Aide or medical-grade adhesive) around the perimeter of the face. Press the edges of the cap into the glue, working in sections – starting at the forehead and moving to the sides and back.
Note: Vinyl bald caps stick best when the skin is free of oil, while latex caps may benefit from a light powdering before blending.
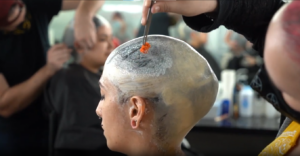
4. Blend the Edges
This is where the real magic happens in the bald cap application. Blending makes the cap look like real skin.
- For a latex bald cap, use liquid latex and a stipple sponge to feather the edge into the skin.
- For a vinyl bald cap, use acetone with a brush or sponge to carefully dissolve and melt the edges into the skin.
Take your time during this step. A smooth transition creates a more realistic appearance for your bald cap.
Note: If you need SFX makeup products to apply bald caps, visit our store.
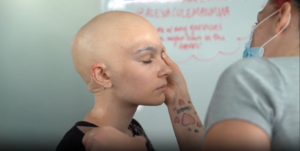
5. Match Skin Tone and Paint
Learners often ask:
Can you paint a bald cap?
Absolutely – it’s a key step to achieving a lifelike look.
Use alcohol-activated palettes or rubber mask grease paints to match the cap to the actor’s skin tone. Lightly stipple on the paint using a sponge or brush, adding natural texture and color variation. If the character requires custom coloring, like blue for aliens or green for monsters, this is where you let your creativity shine.
6. Final Touches and Set
Set the makeup with translucent powder or a setting spray to reduce shine and help it last longer under hot lights or performance conditions. Add any additional elements like veins, bruising, scars, or grime to complete the look.
If you’re creating bald cap characters for a fantasy role or spooky Halloween costume, now’s the time to apply prosthetics, masks, or effects makeup over the cap.
Want to see it in action? Check out the character makeup tutorial here:
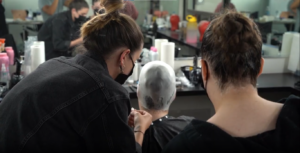
Learn Professional Bald Cap Application at Cinema Makeup School
In character makeup, transforming an actor into a completely different persona often begins with altering the appearance of the head. That’s where bald cap application plays a key role – it’s essential for creating convincing bald characters, aging effects, creatures and fantasy looks seen in film, television and stage productions.
As a division of Cinema Art College Corporation, Cinema Makeup School is dedicated to equipping you for this path. Our Special Effects Makeup Course offers hands-on training with both vinyl and latex bald caps, giving you the skills needed for real-world character work.
And bald caps are just the beginning. We’ll teach you how to turn makeup into movie magic. Enroll now and start creating your magic!
More Related Articles:
Essential Special Effects Techniques for Aging Makeup
How to Avoid Common SFX Makeup Mistakes?
What is the Difference Between Movie and Stage Makeup?
FAQs
Q: Are bald caps reusable?
A: No. Both latex and vinyl bald caps are generally single-use. Reuse can compromise the fit and finish, especially after stretching, blending, or painting.
Q: Can bald caps cover beards?
A: Yes, but it takes more skill. Using a bald cap for beard coverage involves flattening facial hair and using a combination of adhesives and prosthetic blending techniques to hide texture. Often, an additional prosthetic or stippled latex layer may be applied over the beard area for a smoother finish.
Q: Does the bald cap method protect your edges?
A: Yes, a properly applied bald cap protects your edges by creating a barrier between your hair and adhesives or makeup. Using a protective barrier before application and removing the cap gently helps prevent damage to your hairline.