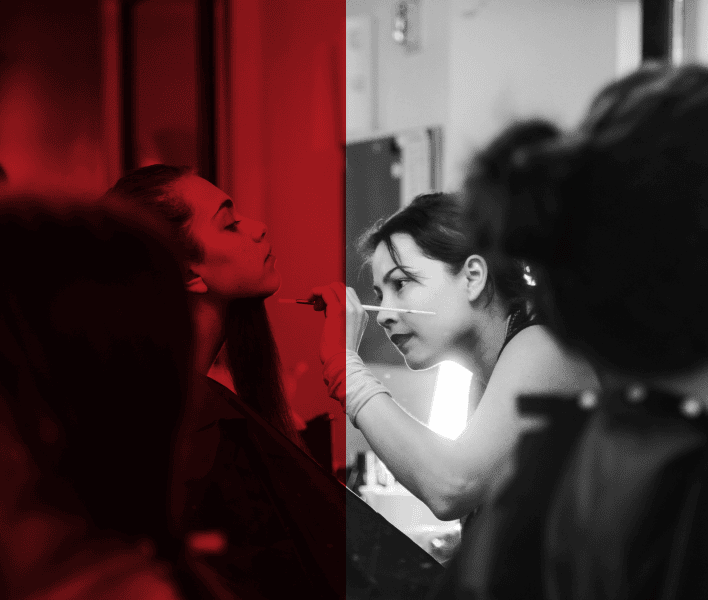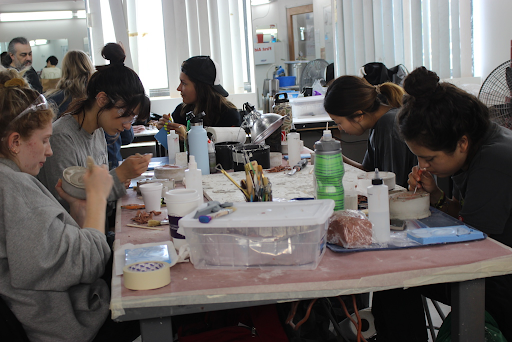
Air bubbles are one of the most common problems SFX makeup artists face when creating silicone prosthetics. Even a small trapped bubble can leave a visible hole, weak spot, or surface imperfection that affects the final appliance.
Air bubbles can form during mixing, pouring, brushing, or transferring silicone into a mold. The good news is that careful preparation, controlled mixing, proper mold setup and the right application techniques can significantly reduce the risk.
In this guide, we’ll explore the common causes of air bubbles and best special effects makeup techniques to create cleaner silicone prosthetics.
Why Do Air Bubbles Form in Silicone Prosthetics
Understanding what causes air bubbles makes them easier to prevent. Silicone can trap air at different stages of prosthetic fabrication, particularly when the material is mixed or introduced into a detailed mold.
Common causes include:
- Mixing silicone too aggressively
- Incorrect mixing techniques
- Pouring silicone too quickly
- Air trapped inside small mold details
- Poor mold preparation
- Inadequate degassing
- Using the wrong equipment or process for the silicone material
- Working too slowly or too quickly for the material’s working time
Highly detailed molds can be particularly challenging because small recesses and texture lines can trap air before the silicone reaches every part of the mold.
Learn Silicone Prosthetic Techniques Through Hands-On Training
When you can practice the entire fabrication process under professional guidance, prosthetic creation becomes easy.
Aspiring artists join Cinema Makeup School to develop SFX makeup skills through hands-on training. Learning these techniques in a structured environment allows them to practice the fabrication process, identify common mistakes and improve their technical precision.
Our Prosthetic Makeup Course covers skills such as sculpting, mold making, tinting & casting, puck molds, gelatin casting, creating prosthetic transfers, application and painting techniques.
Alumni of Cinema Makeup School have gone on to take on professional makeup work across film and television, with credits including Kindred, Hellraiser, Glass Onion and Evil.
Best Practices for Creating Bubble-Free Silicone Prosthetics
Creating bubble-free silicone prosthetics requires careful control throughout the entire process, from preparing the mold to mixing, pouring and curing the silicone. Even small amounts of trapped air can create pinholes, surface imperfections, or weak areas in the finished prosthetic.
Using consistent techniques at each stage can help achieve a smoother finish while preserving fine sculpted details.
1. Prepare the Mold Properly
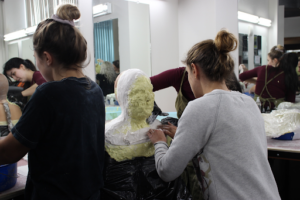
Before adding silicone, make sure the mold is free from dust, debris, moisture and unwanted residue. Check the mold carefully for areas where air could become trapped, particularly around deep textures, undercuts, sharp edges and small sculpted details.
Proper mold preparation also helps the silicone flow evenly across the surface instead of leaving small areas unfilled.
Also Read: Why Your Sculpt Looks Great in Clay but Fails in Mold
2. Mix Silicone Slowly and Thoroughly
The way silicone is mixed can significantly affect the amount of air trapped in the material. Mix the components thoroughly without whipping or stirring too aggressively. Scrape the sides and bottom of the container as you mix to ensure the components are completely combined without unnecessarily introducing more air.
3. Remove Trapped Air With Vacuum or Pressure
After mixing, trapped air can be removed before the silicone is poured into the mold. Vacuum degassing pulls air bubbles out of the silicone, while pressure casting compresses small bubbles so they become less visible as the silicone cures. The method you use depends on the type of silicone, mold setup and equipment available.
4. Pour the Silicone Carefully
Once the silicone has been properly mixed and the trapped air has been removed, the pouring process also needs to be controlled. Pour the silicone slowly in a thin, steady stream from one point of the mold, allowing it to flow naturally across the surface rather than pouring it over multiple areas at once. This helps reduce the chance of creating new air pockets.
For detailed prosthetic molds, pay extra attention to areas where air can easily become trapped, such as:
- Deep wrinkles, creases and undercuts
- Small recessed or narrow areas
- Fine facial or sculpted details
If necessary, apply a thin layer of silicone to these areas first and gently work it into the details before filling the rest of the mold. Avoid excessive brushing or stirring after the silicone has been poured, as unnecessary movement can introduce additional bubbles.
5. Work Within the Silicone’s Working Time
Once the silicone components are mixed, you have a limited time to work with the material before it begins to thicken and cure. Plan your mixing, air removal and pouring process in advance so you can complete each step while the silicone is still fluid. If the silicone becomes too thick, it may not flow properly into fine details and can increase the risk of trapped air.
6. Keep the Working Temperature Consistent
Temperature affects the viscosity, working time and curing behavior of silicone. Material that is too cold may become thicker and flow less easily, while unsuitable temperatures can affect the curing process. Keep the silicone and mold within the temperature range specified for the silicone you are using.
Learn How to Maintain SFX Makeup in Different Weather Conditions.
7. Avoid Unnecessary Handling After Pouring
After pouring, leave the mold on a stable, level surface and allow the silicone to settle on its own. Moving the mold while the silicone is still flowing can cause the material to shift unevenly and may affect the thickness of the prosthetic. Avoid touching or repositioning the mold unless necessary.
Pay particular attention to:
- Place the mold on a flat, stable surface after pouring.
- Avoid bumps or vibrations around the mold
- Leave the mold undisturbed while the silicone begins to cure
This gives the silicone time to settle evenly and helps maintain the prosthetic’s intended shape and thickness.
8. Allow the Prosthetic to Cure Completely
Do not rush the demolding process. Allow the silicone to cure for the recommended time. Removing the prosthetic too early can cause distortion, tearing, or damage to delicate details. Once cured, carefully inspect the prosthetic for pinholes, air pockets and any loss of fine detail.
Related Articles:
How to Blend Prosthetics Into Skin?
How to Create Micro-Details (Pores, Veins, Freckles) in Prosthetics
How to Sculpt a Third Eye Prosthetic – Complete Guide
With careful preparation and consistent fabrication techniques, SFX artists can significantly reduce air bubbles and achieve cleaner silicone prosthetics. As artists continue refining these techniques, they also build the precision and problem-solving skills needed to handle more complex character makeup challenges in production.
Rather than relying only on self-practice and becoming overwhelmed by mistakes, learning under professional guidance can help you recognize the small adjustments that can make a significant difference in your work.
If you are ready to develop your SFX makeup skills, apply to join our SFX Makeup Course or schedule a campus tour to explore the learning environment before taking the next step.