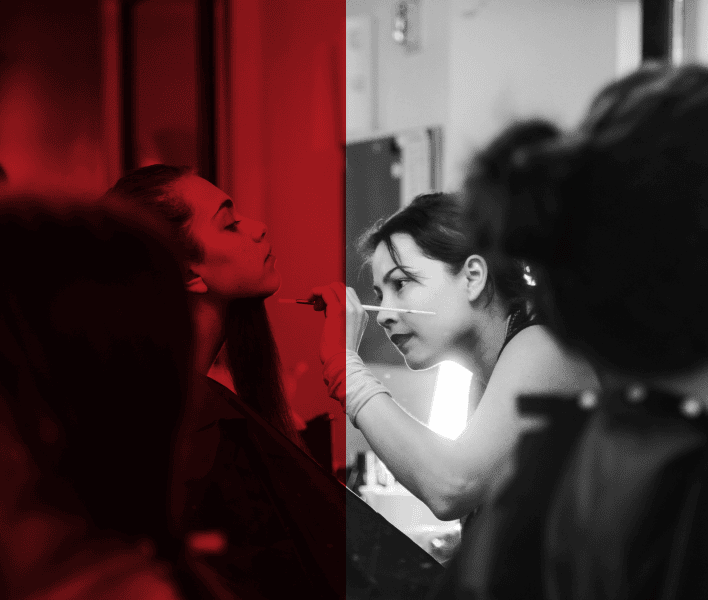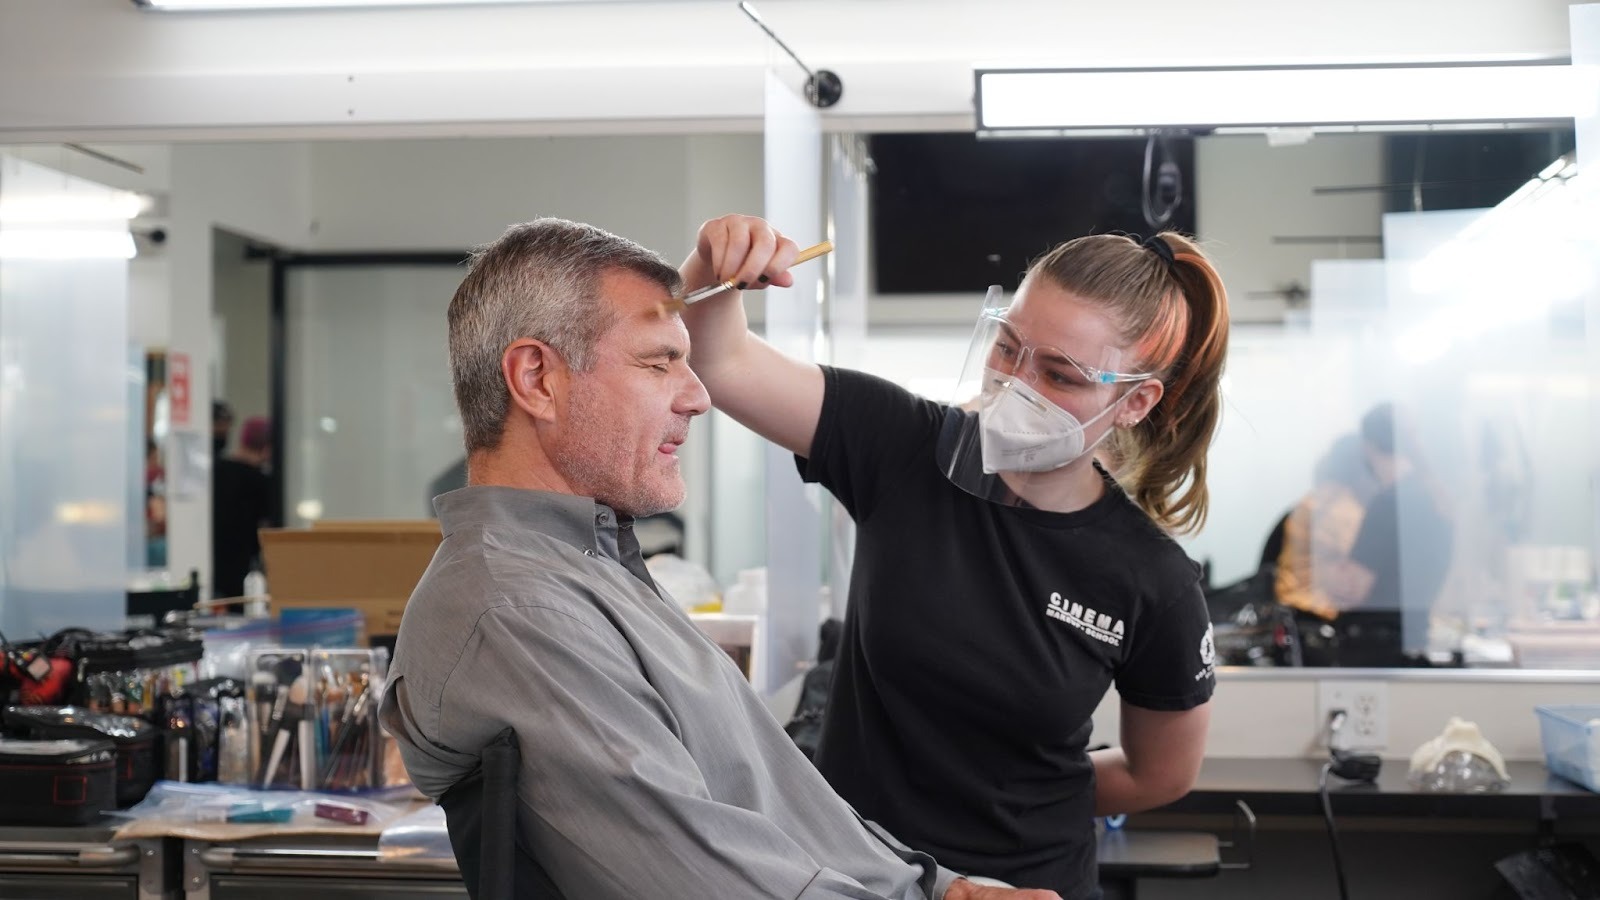
Special effects makeup is a fascinating blend of art and precision, where even the smallest detail can transform a character’s appearance. Among the many techniques used by professional artists, stippling stands out for its ability to create realistic texture, depth and natural aging or skin effects.
Whether you are working on wounds, aging characters, or subtle skin imperfections, stippling helps build a believable finish without harsh lines or an artificial look.
Let’s understand stippling techniques in detail and how they work in SFX makeup.
What Is Stippling in SFX Makeup?
Stippling is a texture-building application technique used in SFX makeup to create realistic skin effects such as bruises, pores, wrinkles and aging details. The method involves gently dabbing makeup onto the skin using a stipple sponge or stiff brush. This tapping motion helps develop natural, uneven patterns that resemble real skin.
Artists often use stippling with materials like liquid latex or silicone to build special effects textures. The technique is especially useful for creating smooth, feathery surface finishes that mimic natural skin imperfections. Stippling can also be combined with airbrushing to achieve soft blending and a more polished, camera-ready appearance.
Types of Effects Created Using Stippling Techniques
Stippling techniques are widely used in SFX makeup to create bruises, wounds, aging effects and fantasy characters. This application enhances character realism and adds visual depth to transformations. Through controlled layering and precise detailing, artists achieve believable results suitable for film, theatre and creative productions.
1. Bruising and Trauma Effects
By layering deep reds, purples, blues and muted yellows in light applications, artists can recreate the natural color variation seen in real bruises. Gradual buildup and soft edge diffusion help achieve believable skin discoloration that looks authentic on camera.
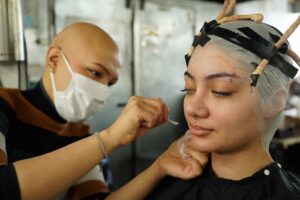
2. Aging and Wrinkle Texture
Fine lines and creases are developed by applying thin layers of latex or activated pigments with gentle tapping. Concentrating on natural expression areas, such as around the eyes, forehead and mouth, adds dimension and enhances an aged appearance.
Check out: Essential Special Effects Techniques for Aging Makeup
3. Wounds and Skin Damage
Creating cuts, abrasions and irritated areas involves combining textured application with materials like latex or gelatin. Careful layering of color and product builds depth, uneven edges and realistic surface breakdown for injury effects.
4. Creature and Fantasy Effects
Stippling is widely used to create creatures and fantasy characters by building intricate texture patterns. Artists apply makeup using stipple sponges or stiff-bristled stippling brushes to form mottled, scale-like, or other non-human surface patterns. Adjusting product layering, pressure and colour variation helps achieve unique fantasy character appearances in special effects makeup.
Check out our behind-the-scenes videos and tutorials on YouTube to see how our students bring stunning SFX characters to life.
Enroll now or book a tour to start your journey on becoming a special effects makeup expert with Cinema Makeup School in Los Angeles, CA!
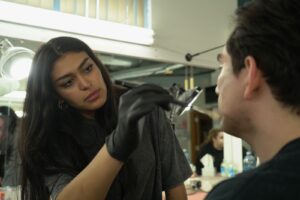
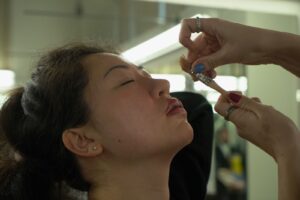
Essential Tools for Stippling in SFX Makeup
Realistic stippling needs the right tools to create natural, textured effects instead of flat, smooth finishes. Using specific products with proper techniques helps achieve believable bruises, wounds, aging and creature textures.
| Tools | Purpose |
| Stipple Sponges | Create natural-looking skin texture for bruises, aging and surface detail. |
| Toothbrush or Texture Brushes | Add fine splatter effects and subtle irritation details with controlled tapping. |
| Liquid Latex | Build raised texture and form wrinkled or damaged skin surfaces. |
| Alcohol-Activated Paints | Deliver long-lasting color for realistic layering and trauma effects. |
| Cream or Grease Paints | Provide smooth blending and easy control, especially for beginners. |
| Setting Spray & Powder | Secure makeup and improve durability for long shoots or performances. |
How to Create Realistic Effects with Stippling Techniques?
Stippling techniques follow a structured process that begins with proper skin preparation and tool selection, continues with texture building & layered colour application and finishes with detailed refinement and sealing. Each stage plays an important role in creating realistic, long-lasting SFX effects that appear natural both in person and on camera.
Step 1: Prep the Skin
Before starting, make sure the skin is clean and dry so that makeup products adhere properly. Remove any oils or impurities using a gentle cleanser or witch hazel. If you are working with latex or alcohol-based makeup, apply a light barrier spray to protect the skin and improve durability. Proper skin prep ensures that the effect will last longer and look more realistic.
Step 2: Choose the Right Sponge or Brush
Select the tool based on the effect you want to achieve. Use a simple sponge for covering larger areas and creating natural textures, while a small brush is better for fine details like veins, cuts, or small abrasions. Slightly roughening or tearing the edges of the sponge helps produce irregular, organic patterns that look more realistic on skin.
Step 3: Build Base Texture
Dip your sponge or brush lightly into the product and tap off any excess to avoid clumps. Apply it to the skin using random tapping motions, avoiding dragging or blending. This helps maintain a textured effect. Start gently and gradually build up the base texture rather than overloading the skin in one pass.
Step 4: Layer Color Gradually
Begin with lighter tones as your base and slowly build depth by layering darker shades. Apply multiple light passes rather than a heavy coat in a single application. This creates natural variations in skin tone and makes bruises, wounds, or creature textures look more believable.
Step 5: Add Realistic Touches
Once the base is built, add small details such as veins, redness, irritation, or subtle bruising using a fine brush. For raised or damaged effects, combine stippling with latex, gelatin, or similar products. Focus on areas where skin naturally shows texture, like around the eyes, mouth, or knuckles, to create a realistic finish.
Step 6: Blend Edges Carefully
Soften the outer edges of the effect by lightly stippling with skin-tone colors. This allows the effect to blend seamlessly into the surrounding skin, preventing harsh lines and ensuring the makeup looks natural both in person and on camera.
Step 7: Set & Seal
Finally, finish with a setting spray or powder to lock the makeup in place and prevent smudging. Allow all products to dry completely before touching or adding extra layers. A proper setting ensures the effect stays intact during filming, photography, or live performances.
Enroll now or book a tour to start your journey on becoming a special effects makeup expert with Cinema Makeup School in Los Angeles, CA!
Related Articles –
How to Make Horns for Cosplay With Special Effects Makeup?
How Special Effects Makeup Transformed Horror Movies?
How to Make Vampire Fangs With SFX Makeup?
Learn SFX Makeup with Advanced Stippling Techniques
Special effects makeup goes far beyond online tutorials; it demands professional guidance, technical precision and supervised hands-on training, all of which are central to the programs offered at Cinema Makeup School.
Our comprehensive training programs, workshops and intensive bootcamps are designed to help aspiring and professional artists refine their technical skills and gain real-world experience in advanced SFX methods. Here, you will:
- Build a strong foundation in the basics before progressing to advanced techniques and technologies
- Learn directly from experienced industry instructors
- Work on real-world projects that simulate professional production environments
- Train using professional-grade tools and materials
- Develop the confidence and technical expertise needed to build a strong portfolio
Book a tour of our special effects makeup school and take the first step toward mastering advanced SFX makeup techniques.
Enroll now or book a tour to start your journey on becoming a special effects makeup expert with Cinema Makeup School in Los Angeles, CA!