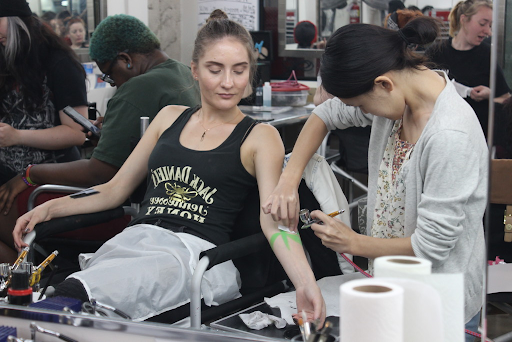
Every special effects character is incomplete without the right color and paint work. The sculpt, prosthetic, or makeup effect may establish the character’s shape, but painting brings those details to life and helps create the depth, texture and realism needed for the final look.
The techniques used to achieve that finish can differ, with some effects benefiting from the soft, controlled application of an airbrush and others requiring the precision of hand-painting.
In many cases, the most convincing results come from combining both. Understanding when to airbrush, when to hand-paint and how to layer the two techniques can help SFX artists create more realistic prosthetics, wounds, creatures and character makeup.
Airbrushing vs. Hand-Painting in SFX Makeup
1) Airbrushing: Useful for applying thin, controlled layers of color over larger areas. It can create soft gradients, subtle transitions and transparent color effects. This makes it particularly useful for establishing an overall skin tone or creating broad areas of discoloration.
2) Hand-painting: Provides more direct control over placement, intensity and detail. An artist can use brushes to add veins, wrinkles, pores, bruising, cuts, mottling, shadows and other localized details. Different brush sizes and techniques can also create variations in opacity and texture.
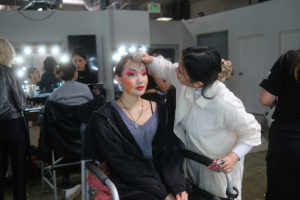
The main difference in airbrush and hand painting is control at different scales.
When Should You Combine Airbrushing and Hand-Painting
Combining airbrushing and hand-painting is especially useful when a character requires both soft, layered color and precise surface details. The right combination depends on the character and the type of effect you are creating.
| SFX Character or Effect | Use Airbrushing For | Use Hand-Painting For |
| Aged or elderly character | Uneven skin tone, subtle discoloration, soft shadows | Age spots, veins, wrinkles, localized pigmentation |
| Bruised or injured character | Broad areas of redness, purple, blue and yellow with soft transitions | Concentrated bruising, broken capillaries, wound details |
| Zombie or decaying character | Pale base tones, unhealthy color shifts, broad discoloration | Veins, dark recesses, wounds, decay details |
| Creature character | Overall skin tone, gradients, broad color variation | Mottling, spots, veins, markings, fine texture |
| Burned or damaged character | Large areas of redness, darkness and uneven skin tone | Edges of burns, concentrated discoloration, damaged areas |
| Fantasy character | Smooth transitions between unusual colors | Patterns, markings, veins and character-specific details |
| Realistic prosthetic character | Base color, undertones, translucent color variation | Small imperfections, veins, pores, spots and localized details |
Develop Control With Both Techniques
Learning to combine an airbrush and hand-painting takes practice. The goal is not simply to learn how to operate each tool, but to understand opacity, color relationships, layering, surface texture and how different materials respond to paint.
If you are starting from scratch, visit Cinema Makeup School. We offer hands-on special effects makeup training with industry-relevant techniques taught by experienced instructors.
Our alumni have applied these skills to professional productions including Avatar, Ad Astra, Colony and Bombshell, putting their makeup training into practice across film and television
Students can develop their painting skills while also exploring other areas of professional makeup through a range of diploma programs, certificate courses, workshops and bootcamps.
Explore the tuition and schedule for SFX makeup courses to join a program that fits your goals.
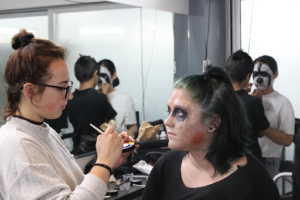
How Airbrushing and Hand-Painting Work Together in SFX Makeup
Airbrushing and hand-painting work best when they are treated as complementary techniques rather than separate painting methods. Start with the larger color structure, add controlled details and then use additional layers to bring everything together.
1. Start With the Base Color
Begin by airbrushing a thin, even layer of the primary color across the prosthetic or skin. Building the base gradually gives you more control over the final color and helps preserve the surface texture.
2. Build Color Variation
Use the airbrush to introduce subtle changes in tone across the surface. Add warmer, cooler, lighter, or darker areas according to the character design. These broad variations create depth before smaller details are added.
3. Add Details With Hand-Painting
Once the overall color is established, switch to brushes for details that require greater precision. This can include veins, bruising, mottling, scars, wounds, age spots, shadows, or character-specific markings. Work in thin layers so the details remain integrated with the underlying color.
4. Blend With the Airbrush
After adding hand-painted details, assess their intensity. If some areas look too sharp or strongly defined, use a light, translucent layer with the airbrush to soften the transitions. This helps the details appear as part of the skin rather than sitting on top of it.
5. Refine With Hand-Painting
Return to your brushes for the final details. Strengthen areas that need more definition, deepen selected shadows, or add small variations that may have been softened during the blending stage. Not every detail needs to be equally visible, so focus on the features that contribute most to the character.
6. Evaluate the Finished Makeup
Step back and look at the makeup as a whole. Check whether the color transitions feel natural, the details are visible at the intended viewing distance and any areas appear too flat, too smooth, or overly painted. Make small adjustments with either technique rather than adding unnecessary layers.
Related Articles:
Water-Based vs. Alcohol-Based Airbrush Makeup
Airbrush Makeup Artist Career Roadmap
Step-by-Step Guide to Airbrushing with Stencils
Best Practices for Using Both Painting Techniques
- Practice on test pieces first: Before working on a finished prosthetic, practice on test pieces. Try creating the same effect using different combinations of airbrushing and hand-painting, then compare the results.
- Pay attention to application: Notice how much pressure you use, how much paint you apply and how transparent each layer is. Also observe how each new layer changes the appearance of the color underneath.
- Build color gradually: Avoid applying too much paint at once. Thin, controlled layers give you more flexibility to adjust the color and intensity.
- Evaluate from different distances: Details that look subtle up close may appear much stronger from a distance. Step back regularly to see how the colors and details work together as a complete makeup.
- Know when to stop: Not every area needs another layer. Once the color, detail and transitions look balanced, additional paint can make the result look heavy or overly uniform.
Ready to develop your SFX makeup skills through hands-on training? Book an in-person or virtual tour of Cinema Makeup School to explore the classrooms, studios and learning environment and learn more about the available SFX makeup programs.